Have you encountered hair color crises that almost make you cry? Learn not only to correct color errors but also to say goodbye to patchy results – and to master shades like a pro. So, tell the client to take off that hat and get ready to shine – because all hair deserves the best. Hair disaster repair guru Linda Lehto shares the best tips that you should start trying out immediately, preferably yesterday!
Section I: Understand Hair Color Accidents
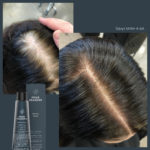
Hair color correction is a process where the hair color is tinted or corrected. It may be necessary if the color is too light, dark, cool, or warm-toned. Correction may also be needed due to uneven color, too yellowish shade, or an error made in home dyeing, resulting in a patchy result or the hair’s condition taking a big hit.
Section II: Damage Assessment
Check the condition and structure of the hair so you can choose the right products and methods! Hair structure, porosity, elasticity, and texture play a big role in color correction: compromises must be made with damaged or porous hair. If the hair is brittle and porous, oxidative color is not the best option. Consider if you can tint with something other than oxidative colors, for example, Four Reasons Color Masks?
If the hair structure is damaged, the best tint is direct dye pigment. Porous hair is open, and the oxidant opens the hair structure even more. “Hair is like a pinecone: damaged hair is like an exploded pinecone, whose cuticle layer is open, and the pigment escapes between the open cuticle layer. Direct dye stays on the hair surface with an electric charge and adheres better”, Linda hints.
Section III: The Importance of Consultation in Color Corrections
The importance of the process and thorough client consultation cannot be emphasized enough! As funny as it sounds, the most important thing is to manage the client’s expectations. Major color corrections are long processes, and that needs to be communicated to the client. A comprehensive consultation has taken place when you can answer questions: what products have been used as a base and with which colors the current state has been achieved? It affects the technique and color choice.
Consultation is an important step in also committing the client to your chair. By discussing the follow-up plan, you instill important understanding in the client about what result the client can expect from the session and how the color correction will proceed on subsequent occasions. It’s a good idea to make an action plan and explain it to the client with justification. Which is more pleasant for the client to listen to?
- “Now we can go two shades lighter today, but after four or five times we have achieved the desired color and shade.”
- “It won’t work in one go. Go away.”
Section IV: The Science of Color Correction
Color theory; that all-important thing without which you shouldn’t really do anything. The color wheel is your best friend, with complementary colors you can either emphasize or neutralize the hair color in the desired way.
Linda gives tips on how to utilize color theory in different situations:
- If you want to go from a level 10 to, for example, a level 7, find out what pigment is missing in between. Do you need to add yellow, orange, and red?
- If the hair color is greenish, add a little red pigment to the color mass you are using.
Section V: Tips for Handling Hair Disasters
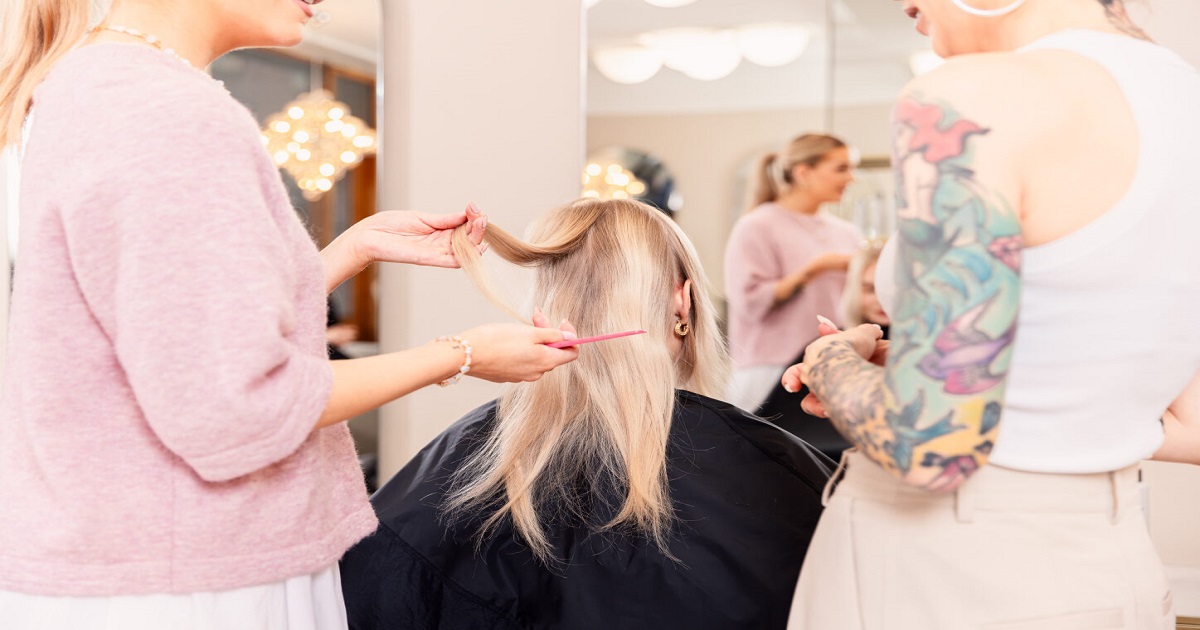
Did you know that in color corrections you should always delve into the problem area and start resolving the situation according to the darkest spot! If you start doing the whole head according to the lightest spot, you may not necessarily level out the darkest spot in the desired way. “Always go with the condition of the hair first”, Linda reminds.
In disasters, the most important thing is to level the base first, after which you can start lightening or darkening as needed. Patches, spots, uneven color, or failed blocks are leveled by delving into problem areas. Leveling very patchy hair is more complicated, as you may need to choose several different bleaching agents and strengths or colors for one strand. Remember: a hair color that has gone too dark needs to be lightened because color does not lighten color.
Linda’s example: if the client’s root is too dark, lighten the dark root all over.
- Apply foils in thin sections.
- Apply the bleaching agent only to the dark spot.
- Let it develop and see how the hair starts to lighten.
When you see how the hair lightens, you can think about color recipes.
“Considering the outcome of the lightening, you always have to look first at how the hair starts to lighten. You can’t always know how it reacts to the bleaching agent from hair containing artificial pigment,” Linda clarifies.
Checklist to avoid hair disasters:
- Check the condition of the hair
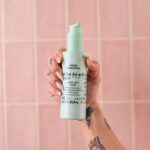
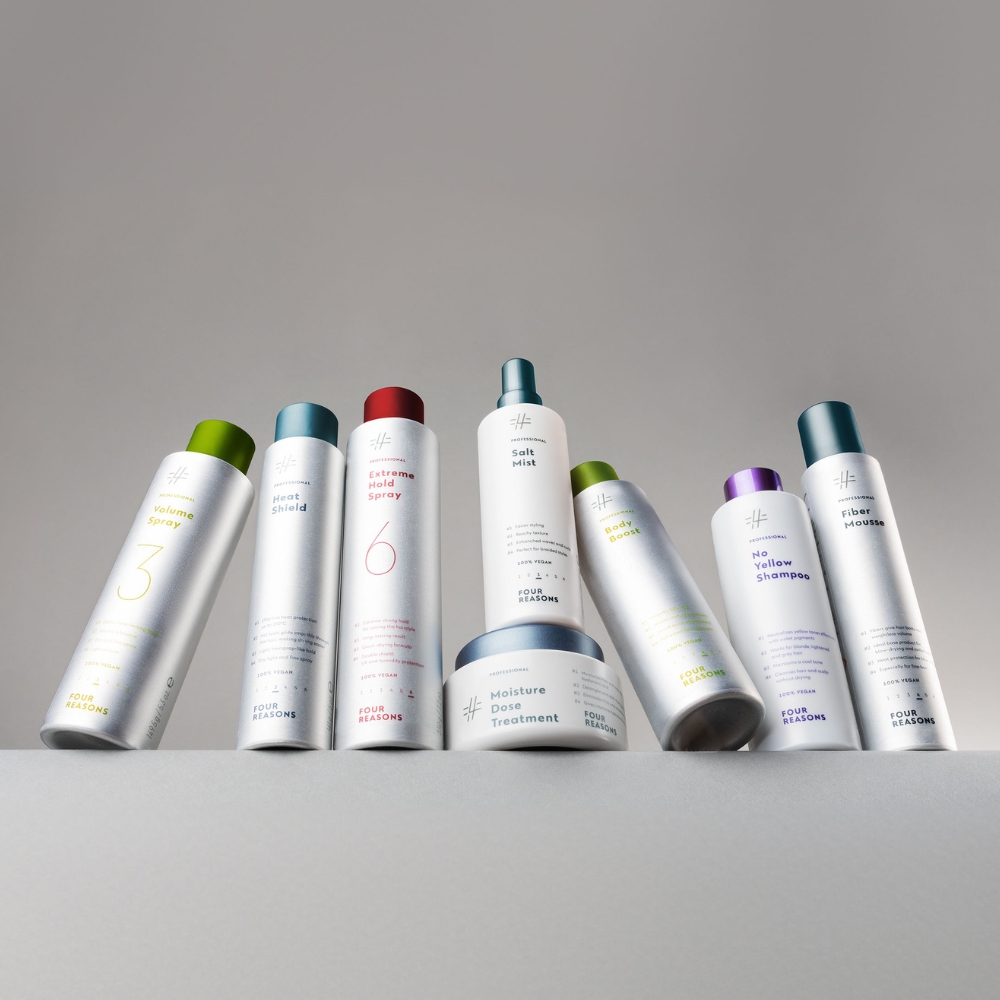
If the hair is not in good enough condition, lightening and strong color treatments should be forgotten. Consider other gentler options such as Four Reasons Luxima or Four Reasons Color Mask. - Find out the client’s hair care habits
Color change requires commitment to hair care and shade maintenance at home. It’s always a good idea to ensure the client’s readiness and the time available for hair care so that the achieved results remain in the hair as well as possible. - Home care products
Recommend products with which the client can maintain the shade and good condition of the hair between salon visits at home. For example, Four Reasons Professional Brilliant Color Shampoo and Brilliant Color Conditioner.